Ingredients:
- 80 grams of sugar
- Room temperature water (as needed)
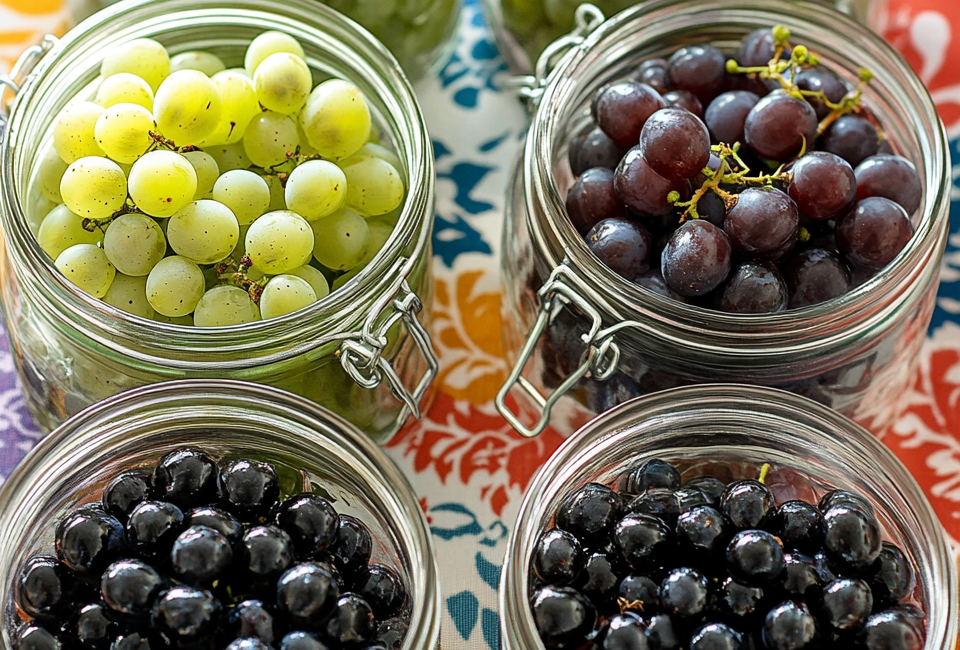
- 2 kilos of grapes (any variety you prefer)
1. Wash and De-stem the Grapes:
- Begin by thoroughly washing your grapes. It’s essential to remove any pesticides or residues, even if you’re using organic grapes.
- De-stem the grapes carefully, ensuring you don’t bruise the fruit. This step is crucial because damaged grapes may not preserve as well.
2. Prepare the Jars:
- Ensure your jars are spotless. Sterilizing them is vital to prevent any bacterial growth that could spoil your preserved grapes. You can do this by boiling the jars or using a dishwasher on a high-heat setting.
- After sterilization, let the jars dry completely. Any leftover moisture can interfere with the preservation process.
3. Add Sugar and Water:
- Evenly distribute the 80 grams of sugar among your jars. This sugar not only sweetens the grapes but also acts as a natural preservative, extending the shelf life of your preserved fruit.
- Fill the jars with room temperature water, ensuring that the grapes are completely submerged. Leave a little space at the top of the jar to allow for expansion during the cooking process.
4. The Cooking Process:
- Seal the jars tightly with their lids. Make sure the lids are secure to prevent any air from entering during the boiling process.
- Place the jars upside-down in a large pot filled with water. The water should come about halfway up the sides of the jars.
- Bring the water to a boil over high heat. Once boiling, reduce the heat to medium and let the jars cook for 15 minutes. This process creates a vacuum seal, which is essential for long-term preservation.
5. Cooling and Sealing the Jars:
- After boiling, allow the jars to cool gradually in the hot water. This slow cooling process helps to ensure a strong vacuum seal, preventing any bacteria from entering.
- Once cooled, dry the jars thoroughly and place them upside-down on a clean surface. Let them rest for 8-10 hours to ensure the seals are properly set.
Ready to Unlock the Full Potential of Your Preserved Grapes? Keep Reading for the Final Steps! 🍇
You’ve made it through the crucial steps of preparing and sealing your jars, but there’s more to this process than just the basics. If you want to ensure your preserved grapes last for months and taste as fresh as the day you preserved them, it’s important to follow a few more steps. From storage tips to creative ways to use your preserved grapes, the next section will cover everything you need to make the most out of your efforts.
Don’t miss out on the final, essential steps to mastering this preservation technique! Flip to the next page and discover how to keep your grapes tasting delicious for as long as possible, along with some creative recipe ideas that will make your preserved grapes the star of any dish.


