In the world of gardening, soil is not just dirt—it’s the very foundation of plant life. But what happens after a season’s worth of planting and harvesting? Many gardeners discard their old potting soil, convinced that only fresh soil can support new growth. However, reusing and rejuvenating old potting soil is a sustainable practice that benefits both your wallet and the planet. This guide will walk you through the step-by-step process to transform used soil into a nutrient-rich medium that plants love.
Why Reuse Old Potting Soil?
The importance of soil quality in gardening cannot be overstated. Fresh potting soil can be costly, and the waste generated from constantly replacing it is significant. By rejuvenating used potting mix, you harness its potential while cutting costs and reducing waste. Best of all, revitalized soil can be even more effective than new when properly amended and cared for. Ready to learn how to do it? Let’s dig in!
1. Remove Debris for a Clean Slate
Start by going through your old potting soil to remove any leftover plant material, roots, or large debris. Dead roots and decaying plant matter can harbor diseases, so be meticulous in your removal. Think of this step as setting a clean canvas for your new masterpiece.
2. Sterilize to Eliminate Pests and Diseases
Lingering pests and pathogens can sabotage your efforts before you even begin. To ensure your soil is clean and safe for new plants:
- Spread the soil on a baking sheet.
- Bake at 180-200°F for about 30 minutes.
- Ensure the internal soil temperature reaches at least 180°F.
This method eradicates any unwelcome guests and resets your soil for fresh growth.
3. Infuse New Life with Compost
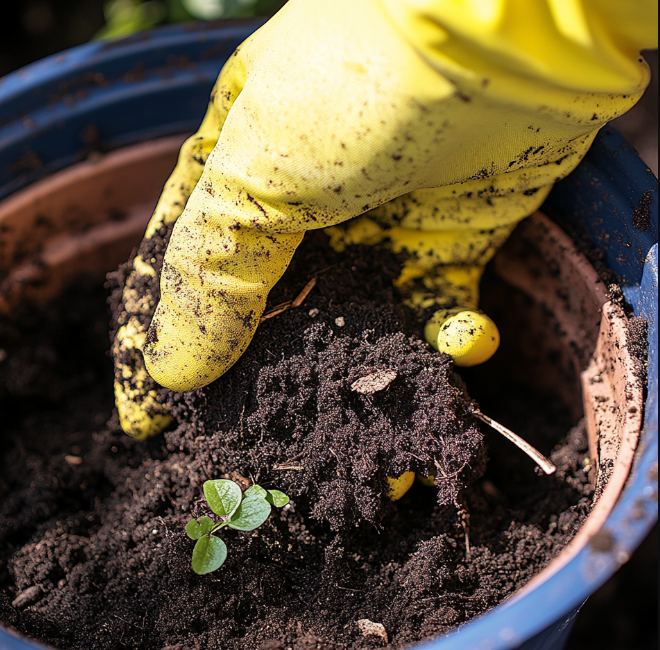
Fresh compost is the secret ingredient to breathing new life into tired soil. Rich in organic matter and nutrients, compost will enhance your soil’s fertility and structure. Add 25-30% compost by volume and mix thoroughly to create a balanced, nutrient-rich base.
4. Add Slow-Release Fertilizer
To keep your plants nourished throughout the growing season, incorporate a slow-release fertilizer. This step ensures a steady supply of essential nutrients as your plants grow. Follow the manufacturer’s instructions for accurate application to avoid nutrient overload.
5. Enhance Soil Structure for Optimal Growth
Improved drainage and aeration can take your potting mix to the next level. Mix in materials such as:
- Perlite for better drainage
- Vermiculite for moisture retention
- Coarse sand for improved structure
Blend these components evenly to create a soil that drains well but retains enough moisture to support plant health.
6. Balance the pH for Healthy Plants
The pH of your soil can make or break your gardening efforts. Use a soil test kit to measure the pH and adjust accordingly:
- Add lime to raise the pH if it’s too acidic.
- Incorporate sulfur to lower the pH if it’s too alkaline.
Most plants thrive in a pH range of 6.0 to 7.5, but specific plants may have unique needs.
7. Store Your Renewed Soil Properly
Storage is key to preserving the quality of your rejuvenated soil. Place it in a clean, dry container and keep it in a cool, sheltered area. Proper storage prevents mold growth and ensures your soil stays fresh until your next planting session.
Want to Discover Pro Tips for Your Next Gardening Season?
Now that you know how to revitalize old potting soil, it’s time to explore more secrets that will make your garden thrive. In the next section, we’ll dive into advanced soil amendment techniques and organic tricks to supercharge your garden’s health. Don’t miss out—your plants will thank you!
Continue to the next page for expert gardening tips and soil secrets that can revolutionize your green space.
Reusing old potting soil isn’t just sustainable; it’s smart gardening. With a little effort and the right approach, your garden can flourish with soil that’s as good as new—if not better. Happy gardening!


