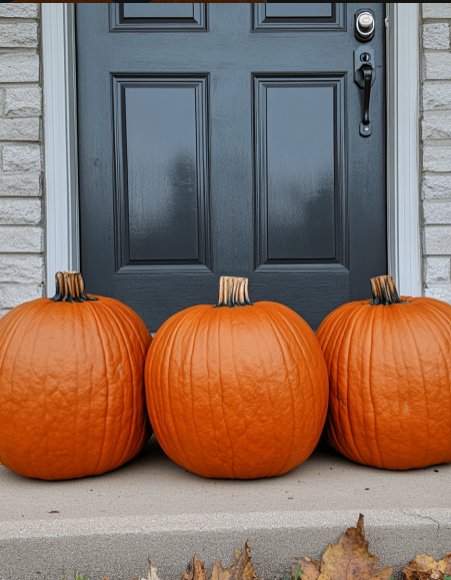
There’s nothing quite like the warm, welcoming glow of a carved pumpkin or the rustic charm of a perfectly placed gourd on your porch. Pumpkins bring that quintessential autumn vibe to life, but there’s one pesky issue that every pumpkin lover faces: rot.
It seems like no matter how perfect your pumpkin looks, it quickly starts to wilt, mold, or get mushy. But don’t worry—there’s a super easy trick my sister taught me to keep your pumpkins fresh, and it works like magic! Here’s everything you need to know to preserve your pumpkins all season long.
The Problem with Pumpkins
Before diving into the trick, it’s helpful to understand why pumpkins rot in the first place. Once harvested, pumpkins are exposed to various elements that speed up the decomposition process:
- Moisture: Rain, dew, or even carved edges allow water to settle into the pumpkin, encouraging mold growth.
- Bacteria & Fungi: Microorganisms naturally present in the air colonize on the pumpkin’s surface, especially where there’s moisture.
- Temperature Fluctuations: The skin of the pumpkin expands and contracts with warm days and cool nights, causing cracks and inviting decay.
- Insects & Pests: Critters are drawn to pumpkins, and they can easily burrow into the flesh, accelerating rot.
The Trick My Sister Taught Me
The secret to keeping your pumpkins looking fresh? A bleach bath followed by a thin coating of petroleum jelly. This trick is both easy and highly effective!
Here’s how to do it step-by-step:
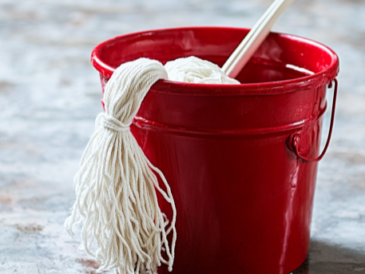
Step 1: Prepare the Bleach Solution
Start by mixing 1 tablespoon of bleach per gallon of water in a large bucket or tub. This solution kills bacteria, mold, and fungi on the surface of the pumpkin without damaging it.
Step 2: Soak the Pumpkin
Submerge your pumpkin completely in the bleach solution for 10 minutes. If your pumpkin is carved, be sure to get the inside as well. For large pumpkins that don’t fit into a bucket, use a cloth to wipe down all surfaces with the solution.
Step 3: Dry the Pumpkin Thoroughly
Continue reading next Page, Just click page “2” below