Making cheese at home is easier than you think! Imagine biting into soft, creamy, freshly made cheese—free from preservatives and additives. Sounds amazing, right? 🤩 All you need are two basic ingredients: milk and vinegar.
In this guide, you’ll learn how to turn simple kitchen staples into delicious homemade cheese. Follow these steps carefully, and you’ll be enjoying your own fresh cheese in no time!
🛒 Ingredients You’ll Need
✅ Milk – 1.5 liters (6 1/3 cups) Whole milk works best for a rich, creamy cheese, but you can use 2% or skim milk for a lighter version.
✅ Vinegar – 2 tablespoons (apple cider vinegar or white vinegar) This is the magic ingredient that helps separate curds and whey!
✅ Salt – To taste Enhances flavor and acts as a natural preservative.
✅ Optional: 50g melted butter (¼ cup) For extra richness.
✅ Optional: 1 tablespoon Provencal herbs, garlic powder, or black pepper For a delicious flavor boost!
🔥 Step-by-Step Instructions
1️⃣ Heat the Milk
Pour the milk into a heavy-bottomed pot and heat it over medium heat. Stir occasionally to prevent it from sticking. Heat until small bubbles start forming around the edges (about 190°F / 88°C), but don’t let it boil!
2️⃣ Curdle the Milk
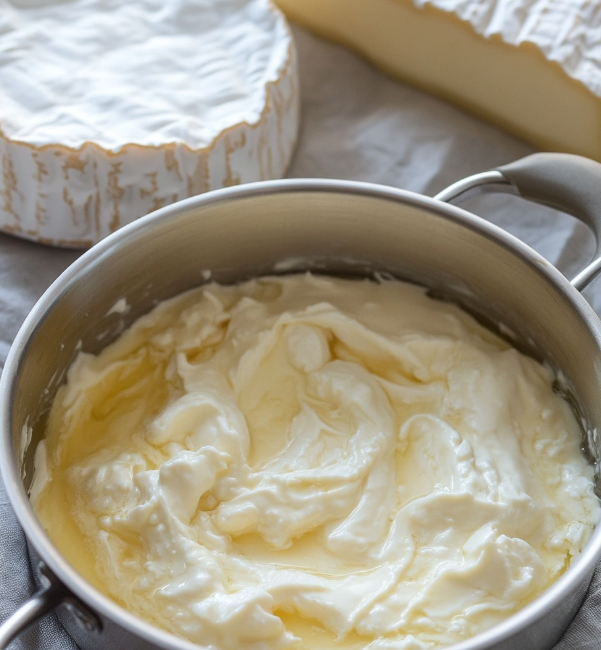
Turn off the heat and gently stir in the vinegar. Within seconds, you’ll see the milk begin to curdle, forming soft white clumps (curds) while leaving behind a yellowish liquid (whey). Let it sit for 5–10 minutes to allow complete separation.
3️⃣ Strain the Curds
Line a colander with cheesecloth or a clean kitchen towel and place it over a bowl. Slowly pour the curdled milk mixture into the colander. The whey will drain away while the curds stay behind. Gently press with a spoon to remove extra liquid.
4️⃣ Season & Shape
Now, let’s add some flavor! 🌿 Sprinkle in salt, butter, and herbs (if using). Mix well. If you want a firm block, press the curds into a mold. For a crumbly texture, leave them loose.
5️⃣ Chill & Enjoy!
Refrigerate your cheese for at least 1 hour to firm up. Then, slice, spread, or crumble it onto salads, pasta, or toast. Bon appétit! 🍽️
💡 Pro Tips for the Best Homemade Cheese
👉 Use Whole Milk for the creamiest texture. Avoid ultra-pasteurized milk—it won’t curdle well.
👉 White vs. Apple Cider Vinegar: Apple cider vinegar adds a slight tang, while white vinegar keeps it neutral.
👉 Don’t Toss the Whey! It’s rich in nutrients—use it in smoothies, soups, or even homemade bread.
👉 Experiment with Flavors by adding chili flakes, smoked paprika, or fresh herbs.
🤔 Why Make Homemade Cheese?
✔ No Preservatives – Fresh, natural, and free from additives.
✔ Cost-Effective – Save money compared to store-bought gourmet cheeses.
✔ Customizable – Make it as mild, salty, or herby as you like!
✔ Satisfying & Fun – Enjoy the process and impress your friends!
🎯 Final Thoughts
Making cheese at home is easier than you think—and the taste? Absolutely worth it! 😍 Whether you’re spreading it on warm toast, crumbling it over salads, or snacking straight from the fridge, this homemade cheese will become a staple in your kitchen.


