Step-by-Step Guide: Growing Roses from Cuttings with Toilet Paper
1. Selecting the Perfect Rose Cutting
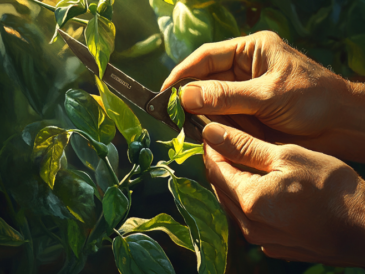
The first step in growing roses from cuttings is selecting the right cutting. This can make or break your propagation efforts, so choose wisely.
- Choose Healthy, Disease-Free Stems: Look for a stem that’s 6-8 inches long, healthy, and free of disease. The cutting should have at least three to five leaves attached.
- Semi-Hardwood Sections Are Best: Semi-hardwood cuttings, which are slightly mature sections of the stem, typically taken in late spring or early summer, have the best chance of rooting successfully.
- Make a Clean Cut: Using a sharp, sterilized knife or pruning shears, make a clean cut just below a leaf node (the point where a leaf attaches to the stem). This is where roots are most likely to develop.
Selecting the right cutting is crucial, as it sets the foundation for the entire process. With a healthy, well-chosen cutting, you’re already halfway to success.
2. Preparing Your Rose Cutting
Once you’ve selected your cutting, it’s time to prepare it for planting:
- Remove Lower Leaves: Strip the leaves from the bottom half of the cutting, leaving a few at the top. This helps reduce water loss and directs energy toward root development.
- Optional: Apply Rooting Hormone: Dipping the cut end of the rose cutting into rooting hormone can boost your chances of success. While optional, this step can speed up the rooting process and improve the cutting’s overall viability.
With your cutting prepared, you’re ready to move on to the next step—using toilet paper to create the perfect rooting environment.
3. Wrapping the Cutting in Toilet Paper
Now comes the part where toilet paper works its magic:
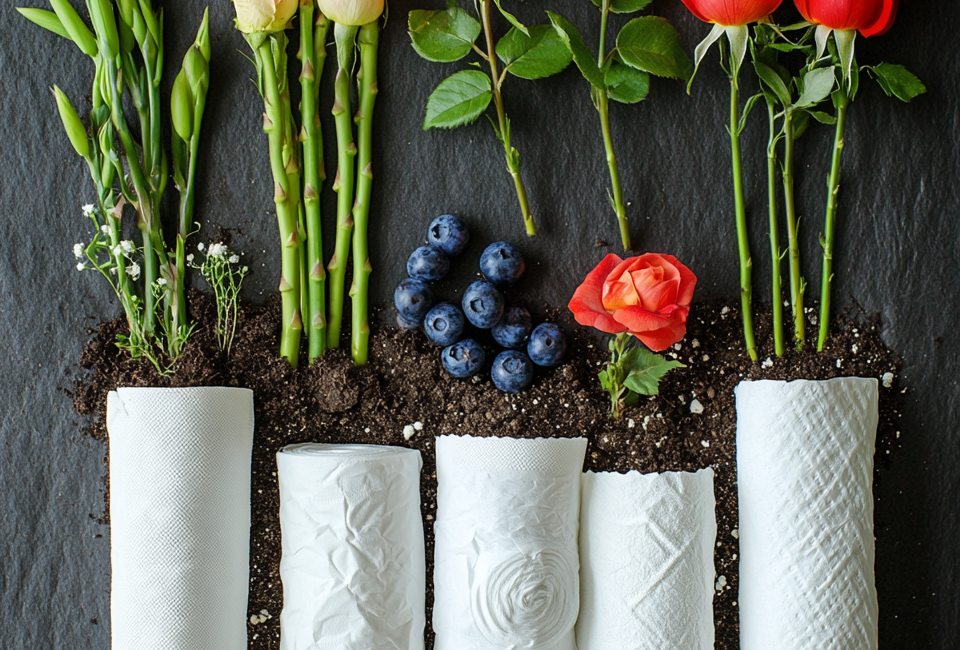
- Dampen the Toilet Paper: Take a piece of toilet paper and moisten it slightly with water. It should be damp but not soaking wet, as too much water can cause the cutting to rot.
- Wrap the Cutting: Place the prepared rose cutting onto the damp toilet paper and gently roll it up, making sure the bottom end is covered. The toilet paper will keep the cutting moist and supported, creating an ideal environment for root development.
This step is key to ensuring your cutting stays hydrated and supported throughout the rooting process.
4. Creating a Humid Environment for Your Cutting
To further increase your chances of success, it’s important to maintain a humid environment for your rose cutting:
- Plant the Wrapped Cutting: Place the wrapped cutting into a small pot filled with well-draining potting mix, such as a mixture of sand and perlite.
- Create a Mini Greenhouse: Alternatively, you can place the wrapped cutting directly into a plastic bag or wrap it with plastic wrap to create a mini greenhouse effect. If using a plastic bag, secure it loosely around the pot, allowing for some air circulation while trapping moisture.
- Optimal Location: Position the pot or container in a warm, bright location, but avoid direct sunlight. The cutting needs warmth and light to thrive, but too much direct sunlight can dry it out.
By creating a humid environment, you help the cutting develop roots faster, bringing you one step closer to a thriving rose plant.
5. Monitoring and Caring for Your Cutting
Patience and care are key during this stage:
- Keep an Eye on Moisture Levels: Check the cutting regularly to ensure the toilet paper remains moist. Water the potting mix as needed, but avoid overwatering, which can lead to rot.
- Watch for Root Development: Within a few weeks, you should start to see roots forming through the toilet paper. This is a sign that your cutting is thriving and ready for the next stage.
Proper care during this period ensures that your cutting develops strong, healthy roots that will support its growth into a mature rose plant.
6. Transplanting the Rooted Cutting
Once your cutting has developed a healthy root system, it’s time to transplant it:
- Gently Unwrap the Cutting: Carefully unwrap the toilet paper, taking care not to damage the delicate roots.
- Planting in a Larger Pot or Garden: Plant the cutting in a well-prepared soil mix in a larger pot or directly into your garden. Make sure the roots are covered entirely and firm the soil around the base of the stem.
- Water Thoroughly: Water the newly planted rose thoroughly to help it settle into its new home. Continue to care for it as you would any young rose plant, providing adequate water, sunlight, and nutrients.
With proper care, your newly rooted rose cutting will continue to grow and flourish, eventually rewarding you with beautiful blooms.
Conclusion: Achieve Rose Propagation Success with Toilet Paper
Using toilet paper to grow roses from cuttings is a simple, innovative method that can significantly increase your chances of success. This technique ensures that your cuttings remain moist and supported throughout the rooting process, making it easier than ever to propagate your favorite roses at home.
By following these steps, you’ll not only improve your propagation success rate but also enjoy the satisfaction of growing your roses from scratch. So why not give it a try? With a little patience and care, you could soon have a flourishing rose garden filled with beautiful, home-grown blooms!


 Top 10 Ways to Eliminate Dust in Your Home for Good