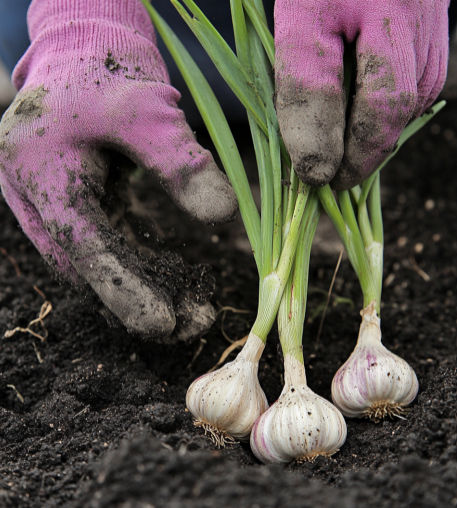
How to Plant Garlic in the Fall: Step-by-Step Guide
With your garlic cloves prepped and ready, it’s time to get them into the ground. Follow these steps to ensure a healthy crop:
1. Choose the Right Time to Plant
The best time to plant garlic is 4–6 weeks before the ground freezes, typically between late September and early November, depending on your climate. This timing gives the garlic time to establish roots without sprouting before winter.
2. Prepare the Soil
Garlic thrives in nutrient-rich, well-drained soil. Loosen the soil to a depth of at least 6 inches and mix in compost or well-rotted manure. Good soil preparation is critical for a healthy garlic harvest, as it ensures the plants have the nutrients they need to thrive.
3. Plant the Cloves
Plant each garlic clove pointy side up, root side down, about 2 inches deep and 4–6 inches apart. If you’re planting multiple rows, space the rows about 12 inches apart to allow the plants room to grow. Cover the cloves with soil and gently firm the ground around them.
4. Mulch Generously
Mulch is essential for protecting garlic during the winter. Cover your garlic bed with 3–4 inches of mulch—my aunt recommends straw or shredded leaves, as they provide excellent insulation while still allowing moisture to penetrate. Mulch helps regulate soil temperature, keeps weeds at bay, and protects the garlic from harsh winter conditions.
5. Water Wisely
After planting, water the bed deeply to help the garlic establish roots. Once winter sets in, you can stop watering, as the garlic will go dormant. In the spring, resume regular watering when you see the green shoots emerge.
Caring for Garlic Through Winter and Spring
Garlic is relatively low-maintenance, but a few key practices will ensure a robust harvest:
1. Monitor the Mulch
Periodically check your garlic bed during winter to ensure the mulch remains in place. If heavy snow or rain compacts the mulch, add more as needed.
2. Fertilize in Spring
As soon as the garlic begins growing in the spring, feed it with a high-nitrogen fertilizer, such as fish emulsion or blood meal. This will provide the nutrients needed for bulb development.
3. Keep the Bed Weed-Free
Garlic doesn’t like competition from weeds. Regularly weed the garlic bed to ensure the plants have access to ample sunlight and nutrients.
Harvesting and Storing Your Garlic
By mid-summer, your garlic will be ready to harvest. You’ll know it’s time when the lower leaves begin to turn brown while the upper leaves are still green. Use a garden fork to gently lift the bulbs out of the ground, being careful not to damage them.
Once harvested, lay the garlic bulbs out in a well-ventilated, dry area to cure for 2–4 weeks. After curing, brush off any dirt, trim the roots, and store your garlic in a cool, dry place. Properly cured garlic can last for months, providing you with flavorful cloves well into the winter.
Conclusion: A Simple Trick for a Bountiful Harvest
My aunt’s simple trick of soaking garlic cloves before planting transformed my garlic-growing success. This easy step encourages healthy root development and protects the cloves from disease, leading to bigger and more flavorful bulbs. Paired with the right soil preparation, fall planting, and proper care through winter and spring, this method will help you grow a bountiful garlic harvest every season. Try it this fall, and enjoy your most successful garlic crop yet!


