
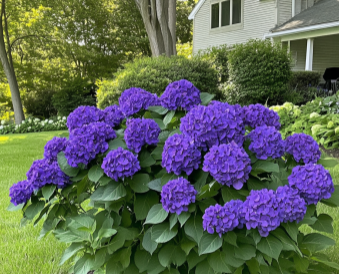
For years, I struggled to get a good garlic harvest. The cloves I planted would sprout, but they rarely developed into the large, flavorful bulbs I was hoping for. I almost gave up on growing garlic until my aunt, a seasoned gardener, shared a simple trick for planting garlic in the fall. This one small step transformed my garlic-growing experience, and now my harvests are plentiful, with rich, robust bulbs every season. If you’re struggling with garlic or want to boost your success, let me share the fall planting method that changed everything for me.
Why Plant Garlic in the Fall?
Garlic is best planted in the fall because it needs a cold period, or vernalization, to trigger proper bulb formation. In many regions, planting garlic in late autumn gives it time to establish roots before the ground freezes. Then it goes dormant through the winter, only to burst into vigorous growth when spring arrives. Planting in the fall gives garlic a head start, resulting in larger, healthier bulbs by the summer.
Key Benefits of Fall Garlic Planting:
- Stronger Root Development: Fall planting allows garlic to establish strong roots before winter, setting it up for rapid spring growth.
- Natural Vernalization: Garlic requires exposure to cold to form large, healthy bulbs. Fall planting ensures this process happens naturally.
- Earlier Harvest: Since fall-planted garlic gets a jump on the growing season, you can harvest it earlier than garlic planted in the spring.
Now that we understand why fall planting is so beneficial, let’s dive into my aunt’s simple trick that can take your garlic gardening to the next level.
The Trick: Soak the Cloves Before Planting
The key to boosting your garlic harvest is this: soak the garlic cloves in a solution before planting. This step encourages quicker root development and protects the garlic from common diseases and pests that could hinder growth.
What You’ll Need:
- Garlic cloves (Hardneck varieties for cold climates, Softneck for milder regions)
- Water
- Baking soda
- Liquid seaweed (optional but highly recommended)
The Soaking Process: How to Prepare Garlic for Planting
Step 1: Prepare the Solution
In a large bowl, dissolve 1 tablespoon of baking soda into 1 quart (1 liter) of water. If you have liquid seaweed, add a splash—this boosts root growth and overall plant strength. Baking soda acts as a disinfectant, reducing the chance of fungal infections, while the seaweed stimulates healthy root development.
Step 2: Peel and Separate the Cloves
Break apart the garlic bulb into individual cloves, but keep the papery skin intact. Select the largest, healthiest cloves, as these will yield the biggest bulbs. Discard any that are damaged or show signs of disease.
Step 3: Soak the Cloves
Place the separated garlic cloves into the solution and let them soak for 12 to 24 hours. This step hydrates the cloves, and the baking soda and seaweed will boost their immune system, helping them fend off fungal issues in the soil.
Step 4: Dry Before Planting
After soaking, drain the solution and allow the garlic cloves to air-dry on a towel for about an hour. Once they are dry, they are ready to plant.
How to Plant Garlic in the Fall: Step-by-Step Guide
Continue reading next Page, Just click page “2” below


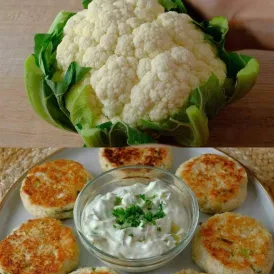
 Cauliflower Tastes Better Than Meat! Why Didn’t I Know About This Recipe?