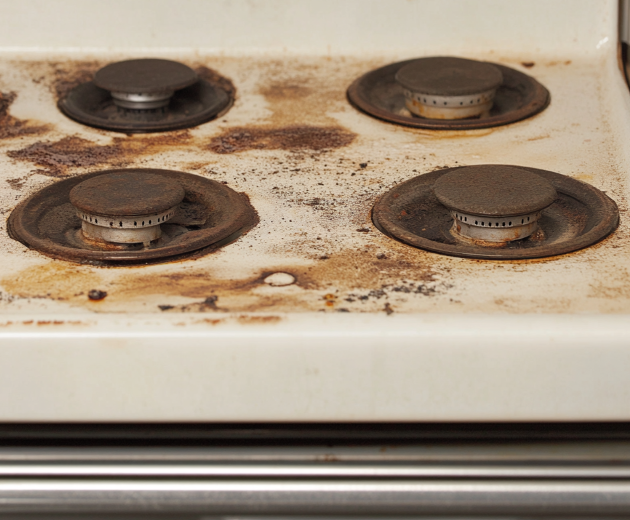
Cleaning stovetop burners is one of those dreaded kitchen tasks that most of us try to avoid. The layers of grease, splatters, and grime seem impossible to tackle without spending hours scrubbing. But, thanks to my nana’s secret, there’s a quick and easy solution—using baking soda and vinegar. With just a few steps and materials you likely already have at home, you can have sparkling clean burners without breaking a sweat. Let’s dive into this magic cleaning trick!
The Magic Combo: Baking Soda and Vinegar
Why Baking Soda and Vinegar?
Baking soda is mildly abrasive, which means it scrubs off grime without scratching surfaces. Plus, it’s alkaline, making it perfect for neutralizing acidic grease. On the other hand, vinegar is acidic, dissolving grease and mineral deposits with ease. When combined, these two create a fizzing reaction that lifts stubborn grime, making it much easier to wipe away.
Step-by-Step Guide to Cleaning Your Stovetop Burners
Materials You’ll Need:
- Baking soda
- White vinegar
- Spray bottle
- Hot water
- Sponge or soft cloth
- Optional: Old toothbrush for stubborn spots
Step 1: Remove the Burners
Make sure your stovetop is cool, then remove the burners. If you’re unsure how to do this, refer to your stove’s manual. Most stovetop burners are easy to lift off.
Step 2: Sprinkle Baking Soda
Lay out paper towels or an old towel on your countertop. Place the burners on top and generously sprinkle baking soda over them, covering all the greasy spots. Don’t worry about using too much—baking soda is inexpensive and safe.
Step 3: Add Vinegar
Pour white vinegar into a spray bottle, then spray it over the baking soda-covered burners. The fizzing reaction will start right away, working to break down the grease. Let it sit for about 10-15 minutes.
Step 4: Soak the Burners
While the fizz is working, fill your sink with hot water. After the baking soda and vinegar reaction subsides, place the burners into the water and let them soak for at least 30 minutes. If your burners are extra greasy, soak them for up to an hour.
Step 5: Wipe Away the Grime
After soaking, use a sponge or soft cloth to wipe away the softened grime. For stubborn spots, gently scrub with an old toothbrush. You’ll find the grease lifts off easily after the baking soda and vinegar treatment.
Step 6: Rinse and Dry
Rinse the burners with clean water to remove any leftover residue. Dry them completely with a towel before placing them back on your stovetop.
Additional Tips for Maintaining Clean Burners
- Clean Regularly: Wipe down spills as soon as they happen to prevent buildup.
- Use Drip Pans: If you have a gas stove, drip pans can catch spills and make cleaning easier.
- Avoid Harsh Scrubbers: Stick to non-abrasive sponges or cloths to prevent scratches.
- Line Burners with Foil: Line the bottom of burners with foil to catch grease and make cleanup a breeze.
Why This Method Works So Well
The combination of baking soda and vinegar does all the heavy lifting for you. Their chemical reaction, along with the hot water soak, breaks down even the most stubborn grease. This method is also non-toxic and eco-friendly, making it a fantastic alternative to harsh chemical cleaners. Plus, it requires minimal effort on your part—what’s not to love?
So, the next time your stovetop burners are looking grimy, give this simple method a try. You’ll be amazed at how easy it is to keep your burners clean and shiny, just like my nana did!


